The printing process
There are two basic ways that 3D print files are acquired - designing them yourself, or downloading them from one of the many on-line resources. I've designed a few parts, but these are usually special applications for my industry and will probably never be sold. Nearly all my source files are downloaded from on-line resources or from the two Patreon designers I support. Usually you can't sell prints from downloaded files, but if you have a commercial license and keep it current, you can sell the prints you create from those sources. The two designers I support are CinderWing3D and FlexiFactory, who have both produced awesome files.
The first part of the printing process is obtaining the 3D file, but that doesn't do much on its own. To produce a file that a 3D printer can use, you must use a slicer program that converts the three-dimensional image into a series of "slices" that the printer will use to lay down the material. The slicing part of the sequence can be challenging because there are many, many variables to manage. The raw materials vary a great deal, both in filament printing and resin printing, and working out how to get a successful print can take a while. After the "sliced" file is created, it is loaded on to the printer and then the printer does its thing. Depending on the print itself, it can be a few hours or multiple days.
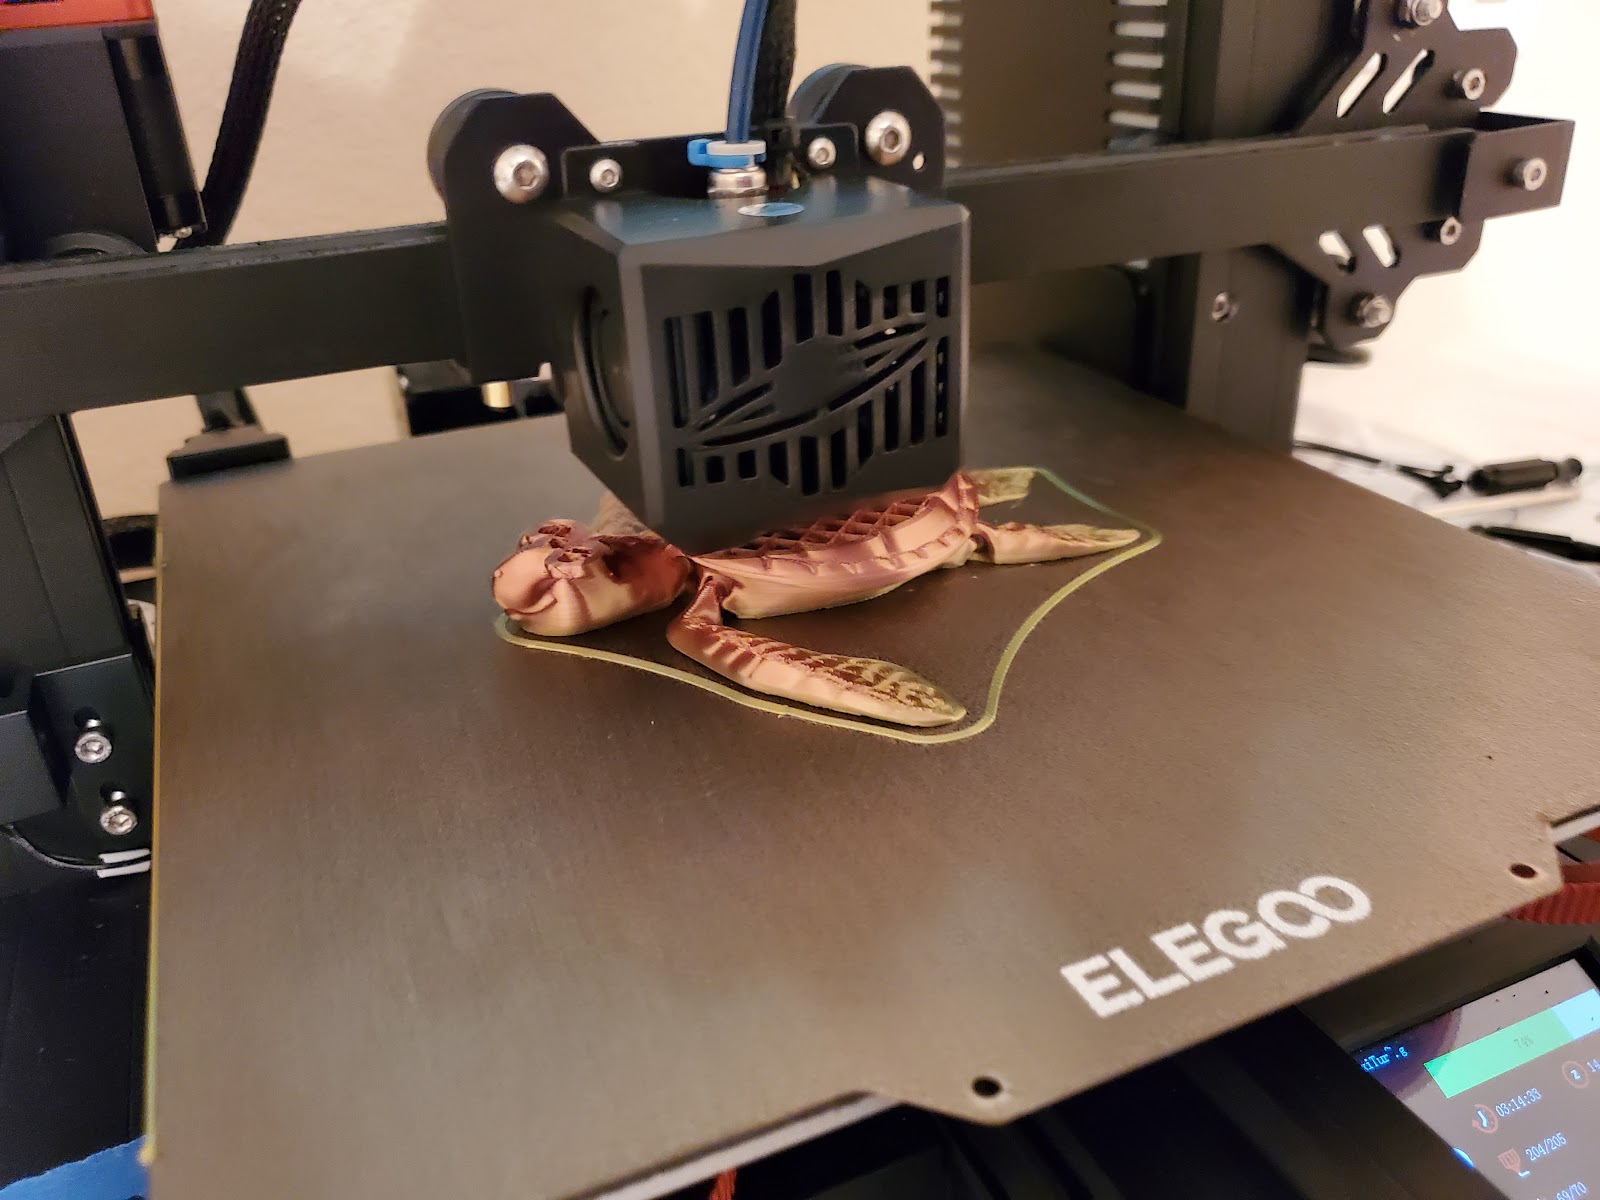
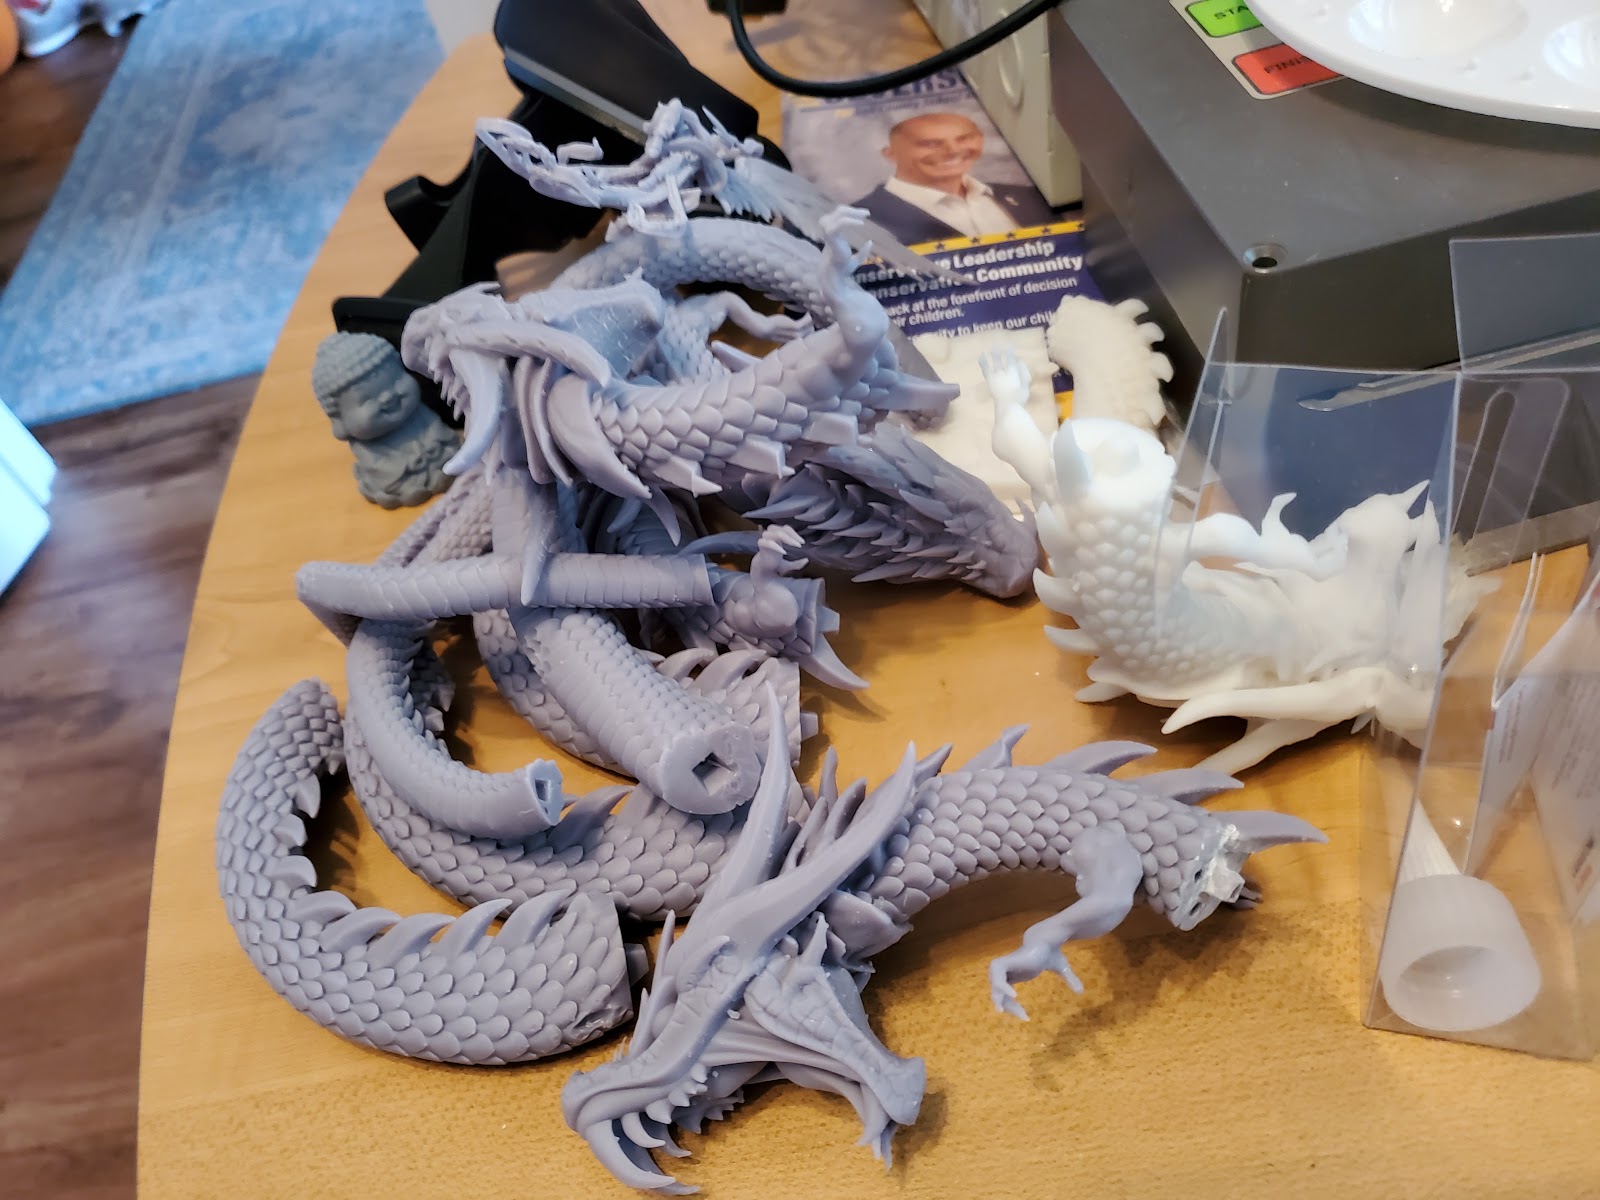
Here are a few pictures of the printing process underway


Comments
Post a Comment